Courtesy of Deep-Sky Watch
Home Made Bahtinov Focusing Mask & Templates
Introduction
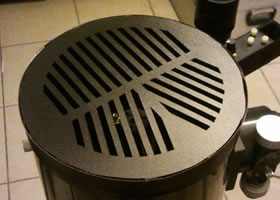
Home Made Bahtinov focusing mask mounted on an 8" Newtonian telescope
Focusing mask which was invented by Pavel Bahtinov is considered to be the easiest, the fastest and an accurate tool for manual focusing. During the focusing procedure the mask is placed in front of telescope's aperture and then the telescope should be pointed to a bright star. Bahtinov mask produces 3 diffraction spikes: Two of them form an "X" shape, and another spike crosses it, forming a "Ж" shape. The central spike moves left or right (relative to the diagonal "X" spikes) according to focus position. When precize focus is achieved - the pattern becomes symmetrical.
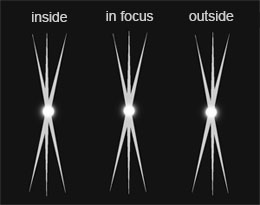
Star image produced by Bahtinov focusing mask at different focus positions
This method is very sensitive, since the displacement of diffraction spikes is apparent even with the slightest focus shift, and takes guessing out of the equation. It can also be used while focusing "regular" camera lenses for astrophotography. When focusing manually - in my opinion Bahtinov method is superior to reading FWHM value, because the human brain interprets geometrical shape much faster than a numerical value (especially while it constantly changes due to atmospheric turbulence). Bahtinov mask is also superior to "Hartmann" focusing mask, its predecessor, however it is more complicated to make.
Printable PDF Templates
I have generated printable PDF templates for the most popular telescope apertures using the original bahtinov mask generator from "Astrojargon" website. You should use Adobe PDF or a similar software for printing. In printer settings make sure to select the correct page size (A3 or A4), 600dpi resolution and set the scale to 100% (or select "actual size"). Note that for larger apertures you'll need to print a "mosaic" of several pages, and then connect them together. Each page has 1 inch overlap and markings which indicate how to connect each piece.
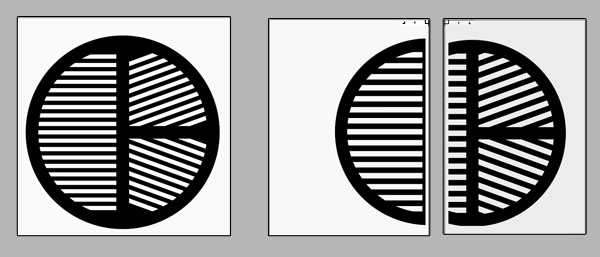
Example of a Bahtinov mask template (single and two page layouts)
Making the Mask
The most elegant ways of building the mask are laser cutting, CNC or even 3D printing. I've also read reports on printing the mask on paper with a laser printer and then transfering it to a glass using a hot iron - method which is suitable for making a small mask for DSLR or a refractor.
I've made the mask for my 8" reflector using materials commonly avaliable in an office supply store. This is the same method I used to build an aperture solar filter as well.
Required tools and materials:
- Binder made from hard, thin plastic (must be non transparent)
- Stanley or a hobby knife and scissors
- Contact glue
- Ruler and a marker pen
- Printer (A3 if possible for larger scopes)
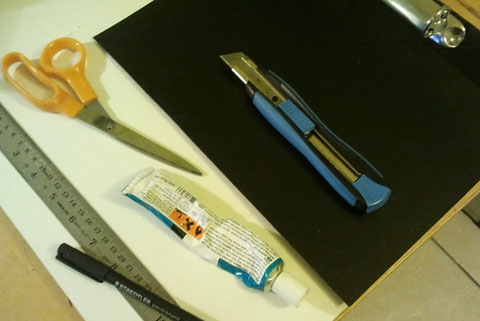
Required materials for a 8" mask
First step was to print the mask - you can use the provided templates, or use the original bahtinov mask generator, and then print it (any modern browser can open the generated .svg file, however chrome works better). In my case I had to print the mask on two pages.
Then I cut one half of the plastic binder, and attached to it my printed mask . I used a masking tape, making sure it's smooth and held firmly in place. It is important to keep the lines straight and parallel (to ensure that diffraction spikes will be bright and thin)
Then the annoying task - cutting the plastic. I did it by placing a metal ruler over each slot, and slicing several times over each edge, without applying too much pressure.
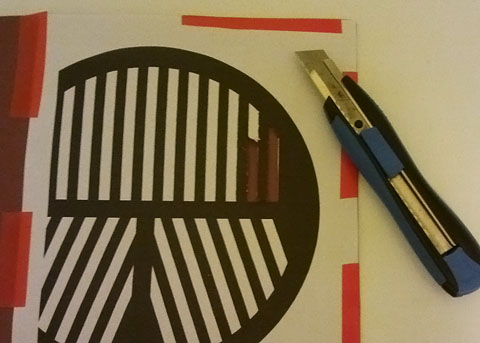
Cutting the slots
after the slots were cut out and the paper removed - the mask looks like this:
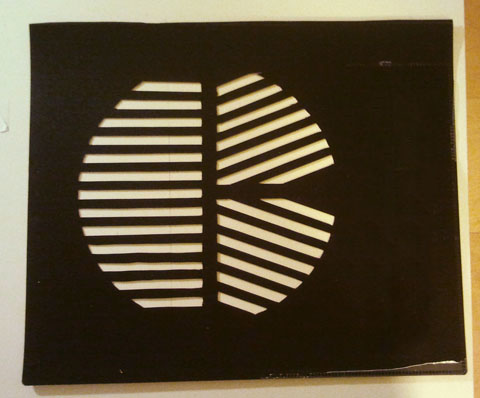
Complete cutouts in plastic
Next step was to measure the telescope outter diameter, and to draw a circle on plastic. Then I cut the mask out using scissors, while leaving 12 small rectangular sections around the circle. These sections should be bent 90° inside after cutting:
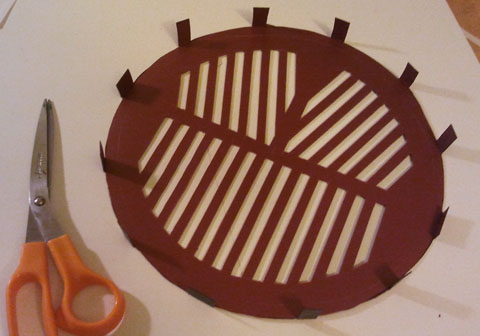
Points for a mounting ring
Then I cut a few strips of plastic, to fit these 12 cutouts (2.5cm wide in my case). I glued the strips to the bent sections using a strong contact glue. You should follow the instructions written on the glue tube, which usually tell you to spread the glue on both surfaces and then let it dry for 10-15 minutes before attaching them together:
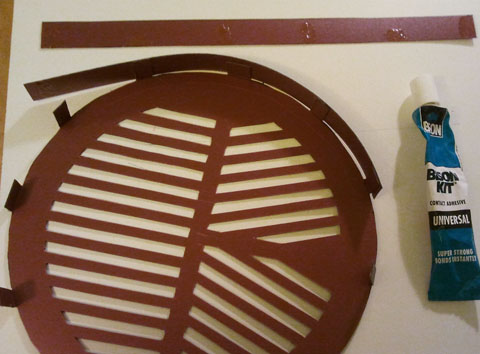
Attaching the mounting ring
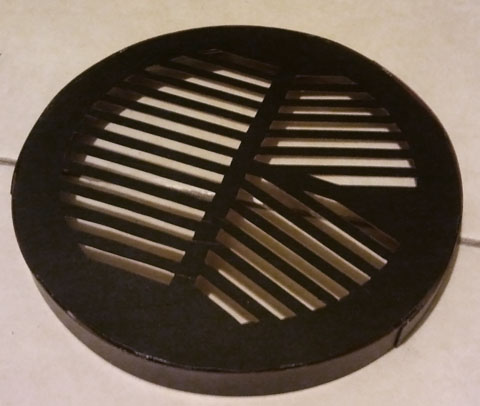
The final result: A complete Bahtinov mask
In a similar way - a daylight solar filter can be made, by glueing a sheet of "Astrosolar" film (or a similar product) between two circles of plastic.
Another tip is to make the inner diameter of the mask slightly larger than required (3-4mm) and add a thick soft tape inside - this way the mask will be held in place much firmer.

